Obsidian Hammer Build Guide: Break Damage and Shell Pairings
How the Obsidian Hammer's hit chains behave, why the Wretchcaller's Stone (Trauma) infusion fits, and which shells — Eredrim and Lazlo — the data recommends pairing it with.
The Obsidian Hammer is Mortal Shell 2's clearest statement of what a heavy weapon is for: high Break damage delivered through heavy hit chains that punish anything standing still. It is not subtle, and it does not need to be — the hammer's whole identity is opening enemy posture fast enough that a fight never reaches its defensive phase. That identity makes shell choice unusually important, because a shell that extends your attack window multiplies what the hammer already does best. This guide covers how the hammer's hit chains actually behave, why the Wretchcaller's Stone (Trauma) infusion fits it, and which shells the data on this site recommends pairing it with — Eredrim and Lazlo, for very different reasons. As always on this site, damage figures are qualitative only: exact numbers have no public source, so every recommendation here stands on behavior, not stat tables.
How the Obsidian Hammer Plays
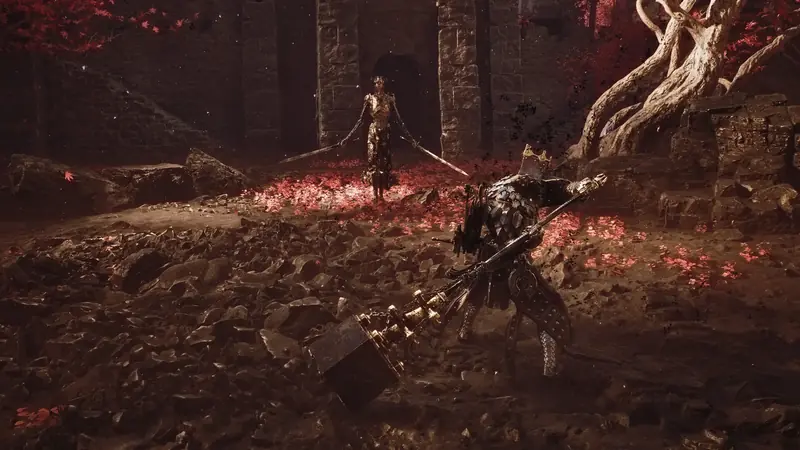
The hammer runs on a rhythm of commitment. Each swing asks more of you than a light weapon would, and the wide, heavy chains reward committing to the full sequence rather than tapping and retreating. Its Break pressure is the payoff: enemies that harden or turtle get their posture opened quickly, and the swing width means grouped enemies do not get a free flanks. The trade is recovery — whiffed chains leave you exposed longer than you would like, so the hammer rewards reading enemy patterns before you start swinging, not after.
Best Shells for the Obsidian Hammer
The tracked weapon data lists two recommended pairings, and they solve different problems. Eredrim covers the hammer's weakness: when a trade goes badly, Eredrim's durability lets you stand in the pocket and keep the chain alive instead of being interrupted out of it. Lazlo multiplies its strength: heat and Burn layering stack on top of Break pressure, so enemies are burning while their posture is breaking. Pick Eredrim to forgive mistakes, Lazlo to maximize the pressure plan.
Infusion: Wretchcaller's Stone (Trauma)
The Wretchcaller's Stone (Trauma) is the infusion fit listed for the hammer, and the theme makes sense: Trauma effects lean into a Break-first game plan, keeping enemies staggered and suffering while the next chain comes around. There is no competing infusion to weigh — the hammer's identity is settled, which makes build planning straightforward.
Obsidian Hammer Build Skeleton
A working skeleton: Obsidian Hammer + Eredrim or Lazlo + Wretchcaller's Stone (Trauma), with Tarstone slots pointed at posture damage and chain sustain. The exact stones depend on how aggressive you want to be — our Tarstones guide maps the categories and upgrade priorities. A community builds thread on r/MortalShell keeps arriving at the same shell pairings for the hammer from the player side; that context is community-reported, but it lines up with the pairing data above. Load the skeleton into the Build Planner and adjust from there.
When to Pick Something Else
If you want layered damage over time rather than posture pressure, the Veteran's Battle Axe and its Burn synergy is the heavy alternative. If raw speed and crit frequency sound more like you, the heavy lane is not your lane — the Axe and Dagger crit pairing is the standard-bearer there. And if you are still deciding, the heavy weapon comparison walks all three options side by side.