Great Martyr's Blade Guide: Single-Hit Break and the Frost Fit
The most focused heavy weapon in Mortal Shell 2: how the single-hit Break playstyle works, why Eredrim is the pairing, and how the Warden's Stone (Frost) completes the package.
The Great Martyr's Blade is the most focused weapon in Mortal Shell 2's heavy roster. It does not chain wide or stack Burn — it delivers high single-hit Break, one enormous commitment at a time. That focus cuts both ways: when your read is right, a single swing does the work of a whole chain; when it is wrong, you eat the recovery. The blade is also the rare weapon whose infusion path is effectively settled — this site's data lists the Warden's Stone (Frost) as its only fitting infusion, which turns build planning from an open question into a single coherent lane. This guide covers how to fight around the blade's rhythm, why Eredrim is the recommended shell pairing, and how the Frost infusion completes the package. As everywhere on this site, exact values are omitted; the game publishes no damage numbers.
One Hit at a Time
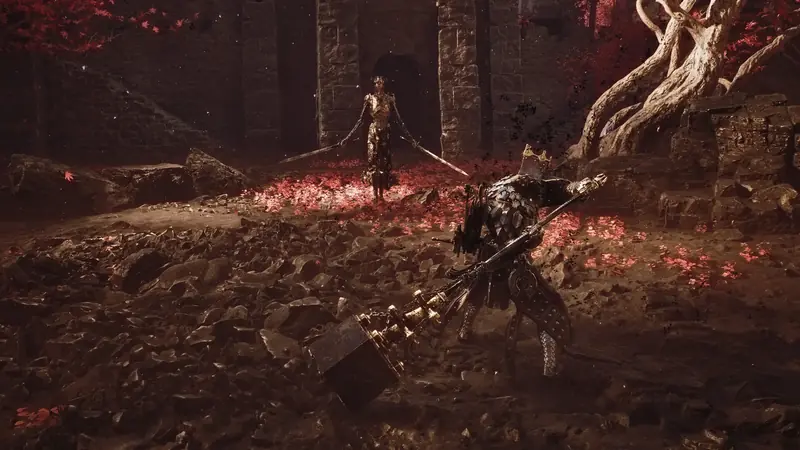
Playing the blade well means relearning what a "turn" is. Where chain weapons keep attacking through uncertainty, the blade asks you to resolve the uncertainty first: read the enemy's pattern, find the window, and put one massive Break hit into it. The timing windows are wider than they look — enemy recovery frames, posture-recovery animations, and post-harden stumbles all qualify — but the recovery risk is real, and a whiffed swing hands the initiative straight back. Players who enjoy decisive, read-based combat get the best return; the blade converts good reads into the biggest single posture hit in the game.
Best Shell: Eredrim
The tracked weapon data lists one recommended pairing — Eredrim — and it solves the blade's only real problem. Single-hit fighting means some reads will be wrong, and a missed swing's recovery window is where runs end. Eredrim's durability turns that window from lethal into survivable: you absorb the punish, reset, and take the next read. Just as importantly, Eredrim's tankiness lets you stand in range longer, which means fewer repositioning cycles between swings and more conversion of the hits that do land. Survive the miss, convert the hit — that is the whole pairing logic.
Infusion: Warden's Stone (Frost) — a Solved Identity
The Warden's Stone (Frost) is listed as the blade's only fitting infusion, and it is worth framing that as a strength. Most weapons force a build-planning question — which of two or three infusion lanes serves your shell? The blade has no such question: Frost control layers freezing pressure on top of Break, punishing the enemies you just staggered and making the next read easier because they are slower to answer. A solved identity means every Glow you spend points the same direction, and the build comes together faster than any open-ended weapon can.
Build Skeleton
The lane assembles itself: Great Martyr's Blade + Eredrim + Warden's Stone (Frost), with Tarstone slots pointed at posture damage and survivability — the two stats that make single-hit fighting forgiving. Our Tarstones guide maps the categories and upgrade priorities, and the best builds page shows how an Eredrim anchor turns into a complete loadout. If you want to experiment before committing, load the skeleton into the Build Planner and adjust one stone at a time.
Who Should Skip It
Chain lovers should. If your fun is long uninterrupted sequences, the blade's one-swing turns will feel like waiting, and the Obsidian Hammer delivers the same heavy identity at chain rhythm. Speed-first players should leave the heavy roster entirely — the Axe and Dagger crit pairing is the momentum pick. And if you simply want to weigh all three heavies against each other, the heavy weapon comparison is the honest starting point.